David Leibovitz’s Delectable Celery Root salad with Mustard Sauce

IMG_3344

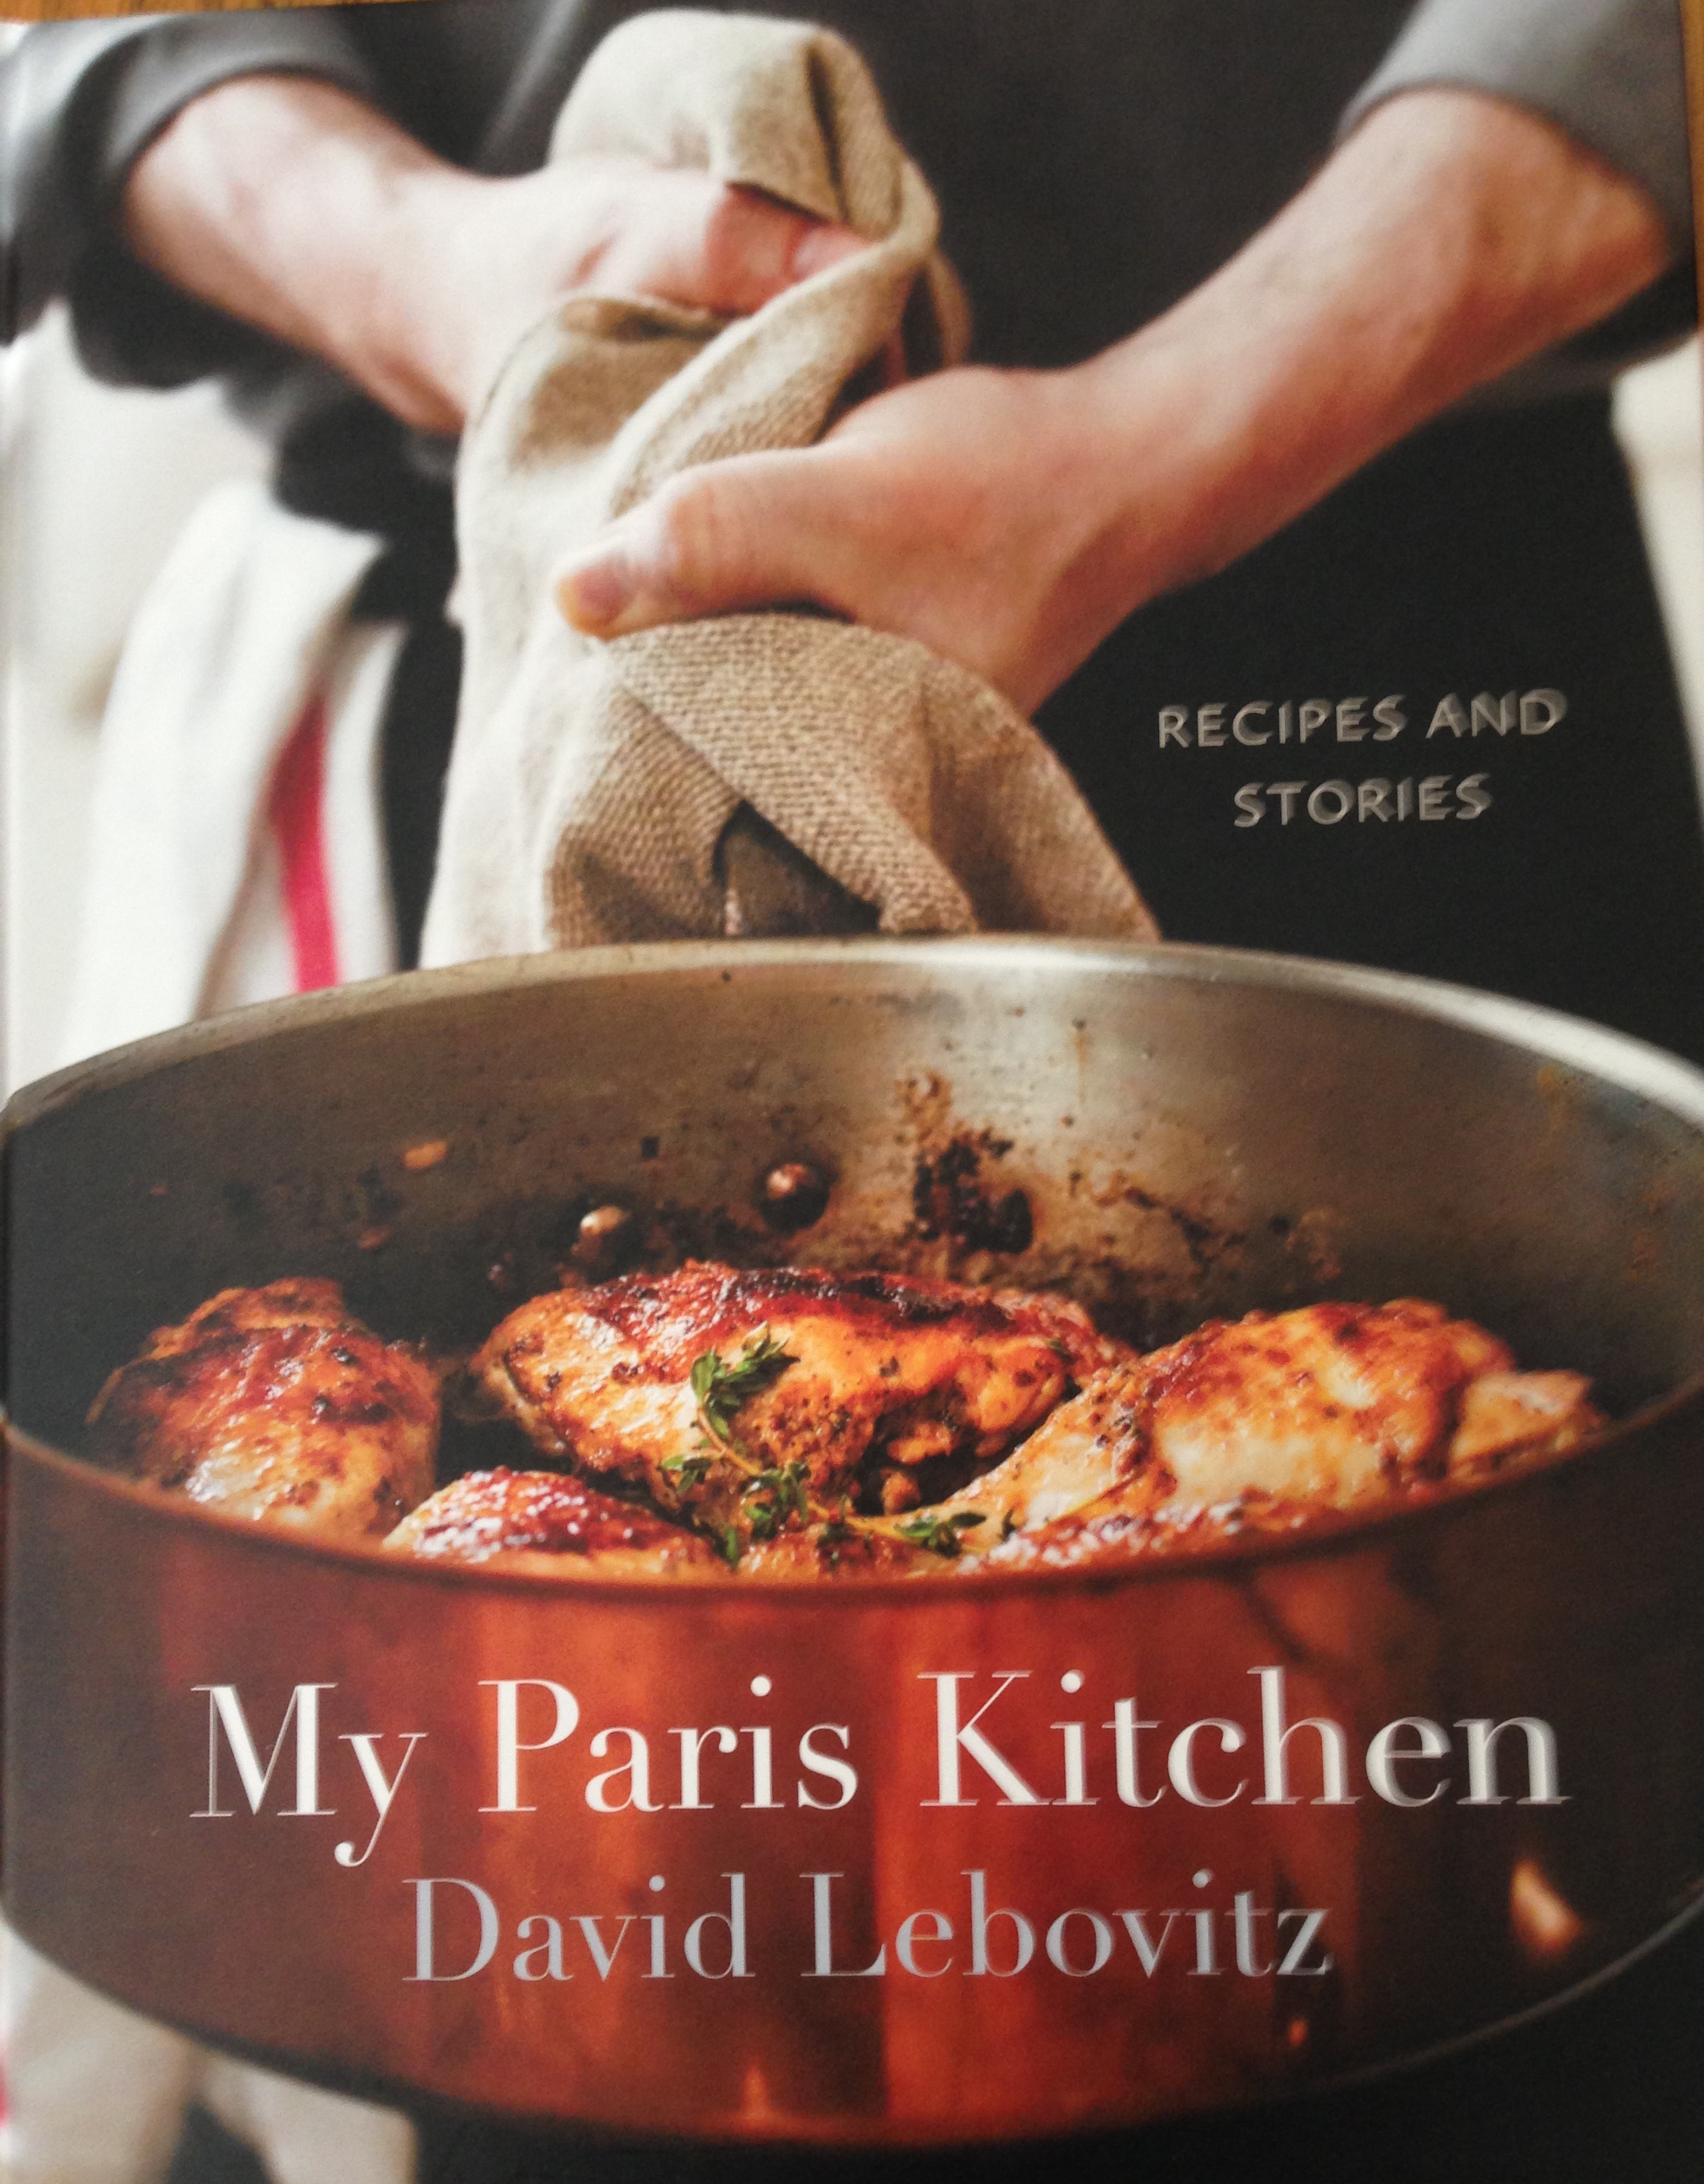
Last May, I went to San Francisco for my first cookbook signing, David Leibovitz’ My Paris Kitchen.   My sister, Susie was kind enough to accompany me.  I have been a fan of David’s blog for quite some time and have made numerous recipes of his… all which I may say are totally delicious!  Before the book signing, we had a great lunch(Roast duck noodles) at a small Cantonese restaurant, B&M Mei Sing restaurant on Second street.  The book signing was at Fog City News, a news shop that carries a vast varieties of magazines in multiple languages.  Another great thing about the David Leibovitz book signing was that they gave out samples of David’s celery root salad (Céleri Rémoulade) and grated carrot salad.  They were both delicious!  They were also passing out samples of chocolate.  Fog City News has quite an assortment of premium chocolate bars(bean to bar).  With these delicious salads and chocolate, who could resist purchasing such a wonderful cookbook.  I have made quite a few recipes from David’s book but since fall has arrived (and celery root is in season), I decided to try to recreate David’s delectable celery root salad with mustard sauce.

IMG_3364

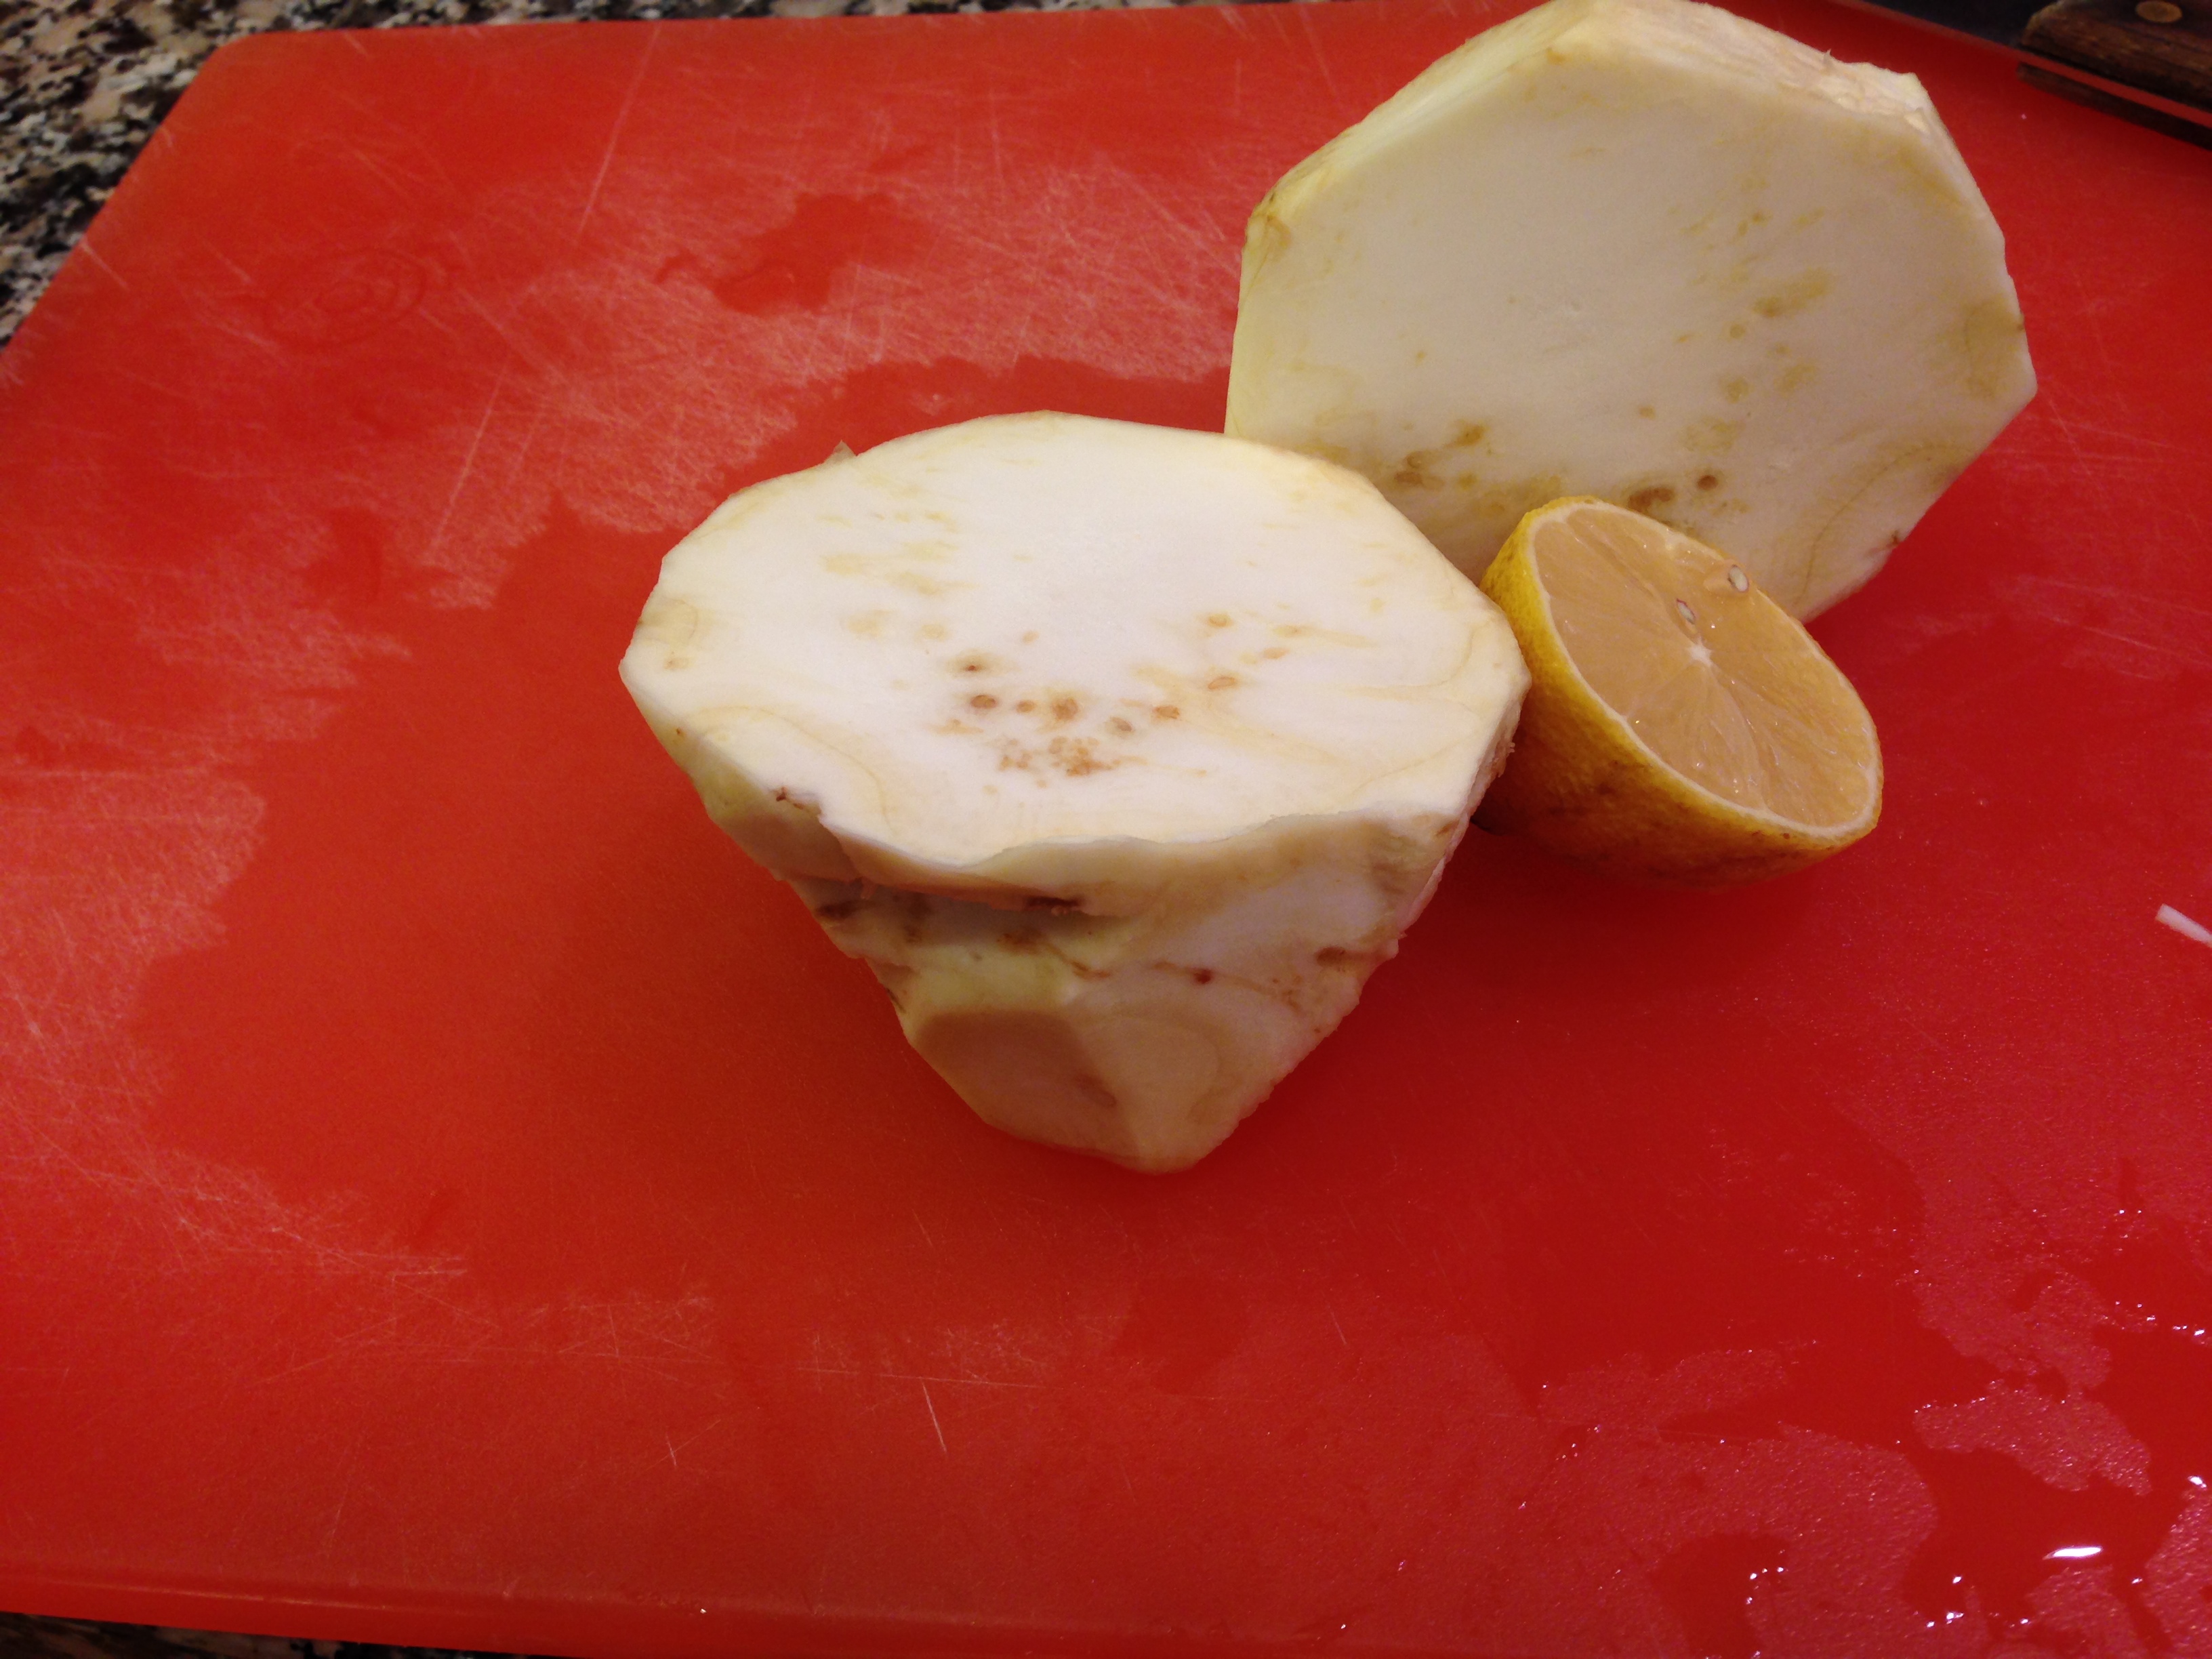
Celery root is not a particularly attractive root vegetable.  But after slicing off the stem side and root side, it has a creamy white interior.  It has a texture that both crispy and crunchy.

IMG_3352

David advises, “Celery root is pretty easy to prepare, but does discolor a bit once sliced open and grated.  So make the dressing before slicing and grating the celery root, for best results.  I like mine really mustardy, so I use a fairly large amount.  If you’re unsure, start with less, you can add more, to taste, when the salad is finished.”

David Leibovitz’s Celery Root salad with Mustard Sauce

(Céleri Rémoulade)

Ingredients

1 large or 2 small celery roots (2  pounds) (I used 2 small)

1/2 cup mayonnaise

1/4 cup sour cream or creme fraiche

2 TBSP grainy mustard (I used a French mustard Maille)

1 TBSP dijon mustard (I used Grey Poupon)

2 TBSP lemon juice

1 tsp sea salt or kosher salt

2 TBSP chopped flat leaf parsley

Tools

Food processor with grating disc

Directions

1.  In a large bowl, mix mayonnaise, creme fraiche or sour cream, grainy mustard, dijon mustard, lemon juice and salt.

IMG_3353

2.  Lop off the top and bottom ends of celery root and set it on a cutting board on one of the flat sides.  Cut away the coarse skin slicing it with a curved motion, conserving as much flesh as possible.  Cut the root in half and then quarters.

IMG_3354

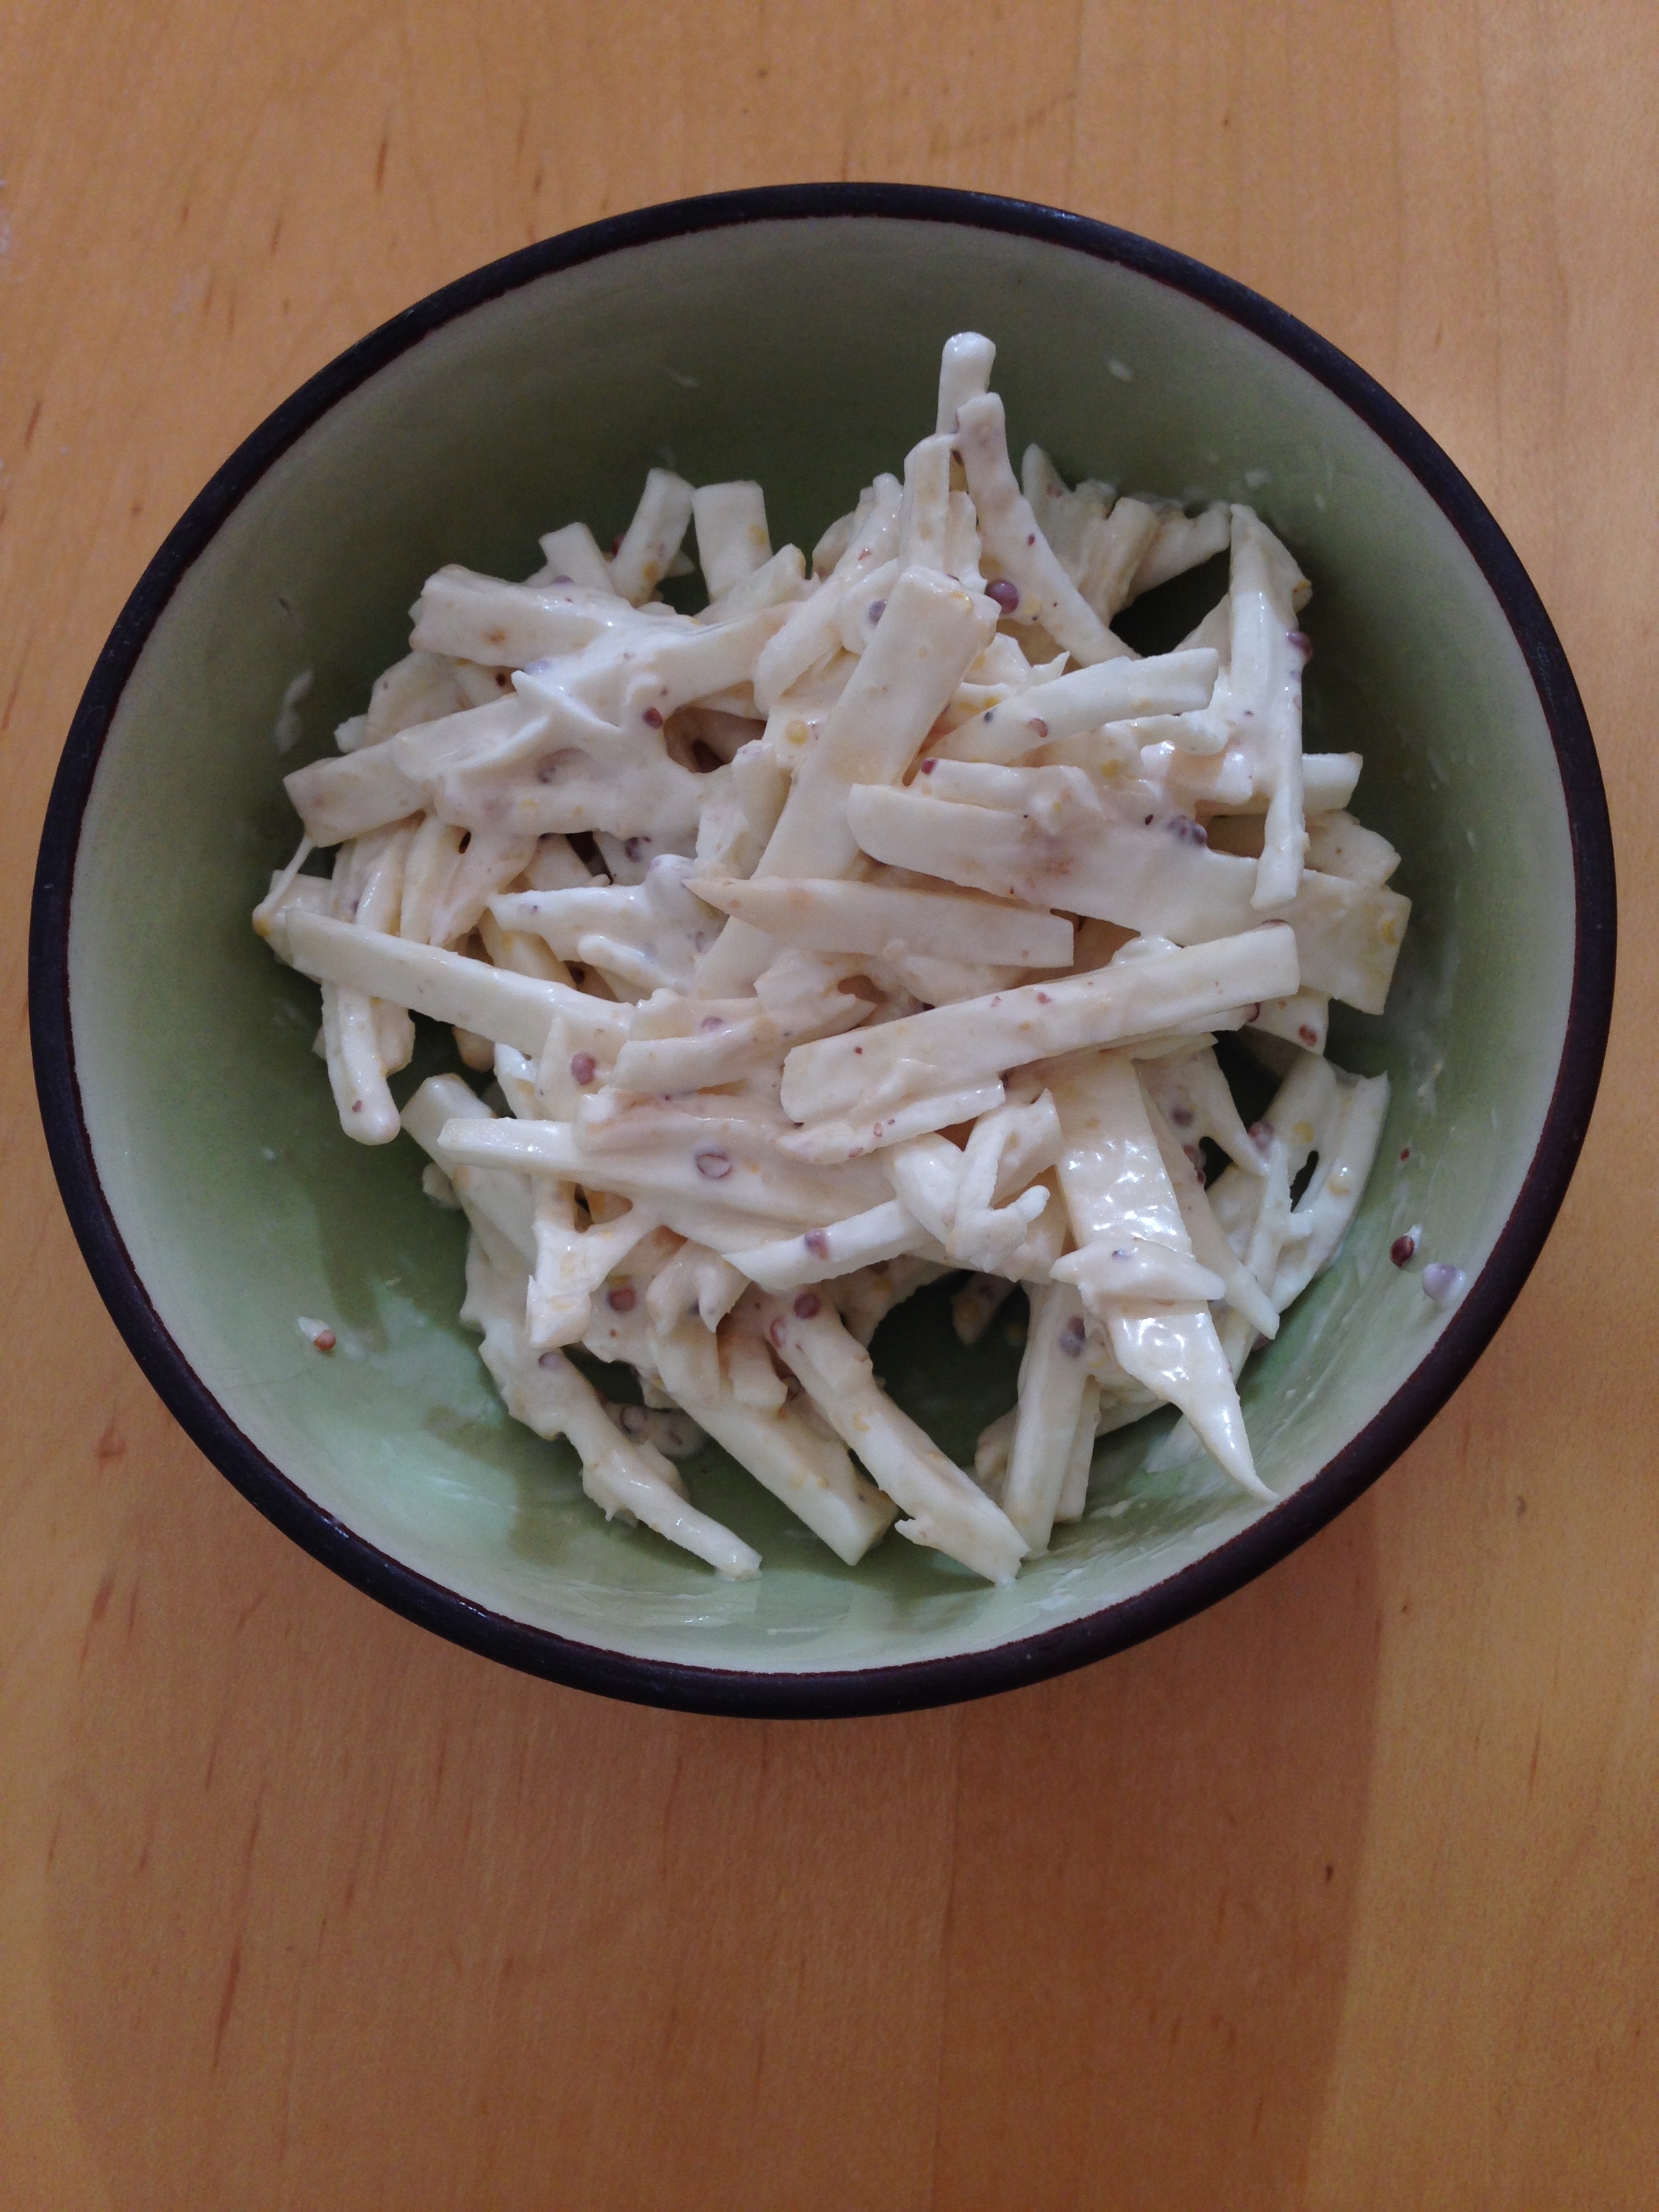
3. David likes to hand cut the celery root into match stick sized pieces.  (My above picture of the celery root salad was made with hand cut celery root).  Recently,  I used my food processor with a grating disc to cut the celery root into smaller bite sized pieces.  I found that the pieces of grated celery root cut using the food processor were smaller than the hand cut match stick size pieces but still remained crunchy in the mustard sauce.    If using a food processor be sure to use  the grating disc with the largest sized holes.  I will leave it up to you if you would prefer to hand cut match stick celery root pieces or use the food processor.  I personally would recommend using the food processor because it is much quicker.   Because the celery root discolors when exposed to air, toss celery root pieces into the mustard sauce immediately after finishing grating.

4.  Add chopped parsley and stir well to incorporate into salad.  Once dressed, this salad will keep for up to 2 days in the refrigerator.  It will lose it’s crispness the longer it sits.

Bon Appetit!

Paleo pumpkin and maple syrup custards

IMG_3345

Fall has finally come to  the Bay Area(it’s actually raining today) and everywhere you go, there are pumpkin goodies in abundance.  Trader Joe’s even has an issue of it’s Fearless Flyer dedicated almost entirely to our favorite fall  pumpkin. There is pumpkin bread, pumpkin latte,  pumpkin butter, pumpkin spice coffee, and one of our favorites, pumpkin pie.  I found this paleo pumpkin cups recipe from Nom Nom Paleo and amped up the spices (Thanks to my mother-in-law Linda for spices from her fantastic homemade pumpkin pie!).  These crustless mini pumpkin custards are just perfect for a fall dessert. Top with toasted coconut chips, whipped coconut cream, or whipped cream. Totally delicious!

Ingredients

10 ramekins (4 ounces) or 7 ramekins(6 ounces) (I used 7 6 ounce) ramekins

1 1/4 Coconut Milk (I used half and half but use full fat canned coconut milk for paleo recipe)

4 large eggs

1/2 cup grade B Maple syrup

3/4 cup canned pumpkin puree (Trader Joe’s organic pumpkin)

1/2 tsp Vanilla extract

1 1/2 tsp Cinnamon

1/2 tsp nutmeg

1/2 tsp ginger

1/2 tsp allspice

1/2 tsp ground cloves

1/4 tsp kosher salt (I omitted)

1/2 cup toasted coconut flakes (optional)

whipped coconut cream (optional)

whipped cream (optional)

Directions

1.  Preheat oven to 325 degree F.

2.  Get 2  9 x 13 glass baking dishes. Line each glass baking dish with a small tea towel.   Turn on kettle to boil hot water.

3.  Heat coconut milk in a pan over low heat until steaming but not boiling.   (I heated my half and half in the microwave until warm.)

4.  Crack 4 eggs into a large bowl.  Add 1/2 cup maple syrup.  Whisk well.

5. Slowly add warmed coconut milk to the egg maple mixture a little at a time.  Mix vigorously.  Beware to add hot milk slowly or you might scramble your eggs.

6.  Add pumpkin, vanilla extract, salt, and spices.  Mix well until blended.

7.  Divide ramekins between the two towel lined baking dishes.  Ladle in pumpkin mixture into ramekins.

8.  Fill baking dishes with boiling water until the water comes up to halfway up the ramekins.  (Water bath for our delectable custards).  Carefully transport the baking dishes to the oven.

9.  Bake pumpkin custards for 30 minutes at 325 degrees F.  The custards are ready when the knife inserted into them comes out clean.

10. Cool ramekins on a wire rack for an hour.

11.  Top with toasted coconut chips, whipped coconut cream, or whipped cream.

Bon Appetit!

Fun DIY Fall Polkadot projects

IMG_2590

Fall is finally here in the Bay Area!  The Giants are going to the World Series!  Life is good! Here are a few fun fall polkadot DIY  projects!

Cute DIY polkadot tights from This Heart of Mine blog!

DIY polka dot tights

20 DIY Pattern tutorials to refresh your rug including a polkadot rug from Apartment Therapy!

20 DIY Pattern rug tutorials

From remodelaholic blog, cute DIY confetti curtains!

DIY confetti drapes

IMG_3343

Fabulous Paleo Sugarless Banana Chunky Monkey Ice Cream recipe

IMG_3332

Are you having a banana dilemma? Do you have a few ripe (but not over ripe) bananas and you don’t really feel like baking banana bread?  How about some Fabulous Paleo Sugarless Banana Chunky Monkey Ice cream?    This ice cream is super easy.  You don’t need an ice cream maker.  You don’t need sugar.  Just a food processor.  Try it!  You’ll be so surprised how fast and scrumptious it is.

Paleo Sugarfree Banana Chunky Monkey Ice Cream

Ingredients

3 bananas

1/2 teaspoon vanilla

1/2 cup coconut milk

Chopped Walnuts

Mini Chocolate chips

Directions

1.  Cut up the bananas into one inch slices.  Put them into a freezer proof container and freeze for at least 2 hours.  It can be longer if you’d like.

2.  After at least 2 hours,  put frozen banana slices into the food processor.  Pulse the bananas.  You may need to stop the food processor and scrape down the sides.  Keep on pulsing and scraping until the bananas become tiny granules. Now add the 1/2 cup coconut milk and 1/2 teaspoon vanilla.  Don’t put the coconut milk and vanilla in from the beginning.  The liquids will just fly out of the food processor and make a big mess. No one wants that!  Continue pulsing until mixture becomes creamy, just like the texture of soft serve ice cream.   It will happen, you just need to be a little patient.

3.  You can remove the “soft serve” banana ice cream and freeze it in a freezer proof container. This makes a more scoopable ice cream.  But if you are like me and need banana ice cream immediately,  make sure you serve your “soft serve” banana ice cream in a super cute bowl.

4.  Sprinkle the “soft serve” banana ice cream with chopped walnuts and mini chocolate chips.

5.  The ice cream topping combinations are endless. Fresh fruit(strawberries are delicious), toasted coconut, whipped coconut cream just to name a few…..However, walnuts and mini chocolate chips are mighty tasty!

6.  For Dark chocolate banana ice cream, add 3 TBSP of unsweetened cocoa powder when adding the coconut milk and 1/2 tsp vanilla extract. Then top with chopped walnuts and mini chocolate chips!

Bon Appetit!

IMG_3337

Polka dot (Fashion) Friday

These Manolo boots were made for walking!

Love this tan polka dot sweater and orange scarf.  Reminds me of fall!

Even though summer is over, love the way this Anthropologie dress matches the foliage!

Cute polka dot leggings!

Last but not least, cute Damien Hirst bag!

Have a wonderful weekend!

Paleo Roasted Kabocha (Japanese pumpkin)

IMG_3318 As long as I can remember, my grandparents grew kabocha, Japanese pumpkin,  in their garden every year. IMG_3320 Kabocha is deep forest green on the outside and bright orange on the inside. Its texture after it is cooked  is more like a sweet potato than a squash.   My grandma used to cook it simmered in shoyu (soy sauce), sake(Japanese rice wine), and dashii(Japanese fish broth).  I used this recipe similar to my grandma’s recipe from Japanese Cooking 101 called kabocha no Nimono.  As the kabocha slowly simmered, the aroma reminded me of my grandma’s cooking.  I substituted honey instead of sugar and omitted the salt in the kabocha no Nimono recipe.   It’s a very savory side dish, both sweet and salty. Absolutely delicious!

IMG_3327

But being a paleo enthusiast, I roasted the kabocha.  I used Nom Nom Paleo’s Roasted Kabocha squash recipe.

IMG_3323

Roasted Kabocha Squash (Nom Nom Paleo)

Ingredients

1 medium kabocha Japanese pumpkin

2 TBSP coconut oil melted

Kosher salt

Freshly ground pepper

Directions

Preheat oven to 400 degrees F

0.  Rinse kabocha in cold water and dry.

1.  Using a fork or small knife, poke around 20 holes through the skin of the kabocha.   Since the kabocha is so hard to cut, I microwaved it for 5 minutes.  Make sure to keep an eye on the kabocha as it microwaves so it won’t explode.

2.  Cut off the top with the stem.  Slice kabocha in half.  Scoop out the seeds.  Slice into thin wedges.

3.  Toss slices in melted coconut oil.  Season with salt and pepper.

4.  Arrange wedges onto foil lined baking tray.

5.  Roast kabocha in oven for 15 minutes.  Flip over and roast for an additional 15 minutes(30 minutes total).  The kabocha should be slightly crunchy on the outside and soft and fluffy on the inside.

Enjoy!

Madie’s Crunchy homemade dog treats recipe

IMG_3274

Sara baked these delicious dog treats for our Brittany Madie.  We freeze them and take a few out for Madie everyday.  Doesn’t everybody deserve a treat everyday?  Madie highly recommends these crispy treats!  Thanks Sara!

We substituted almond butter for peanut butter and used whole wheat flour.  We also used Organic Valley organic nonfat dry milk and fresh parsley because we had them. Our dog bone cookie cutter was 3 1/2 inches.

Yield: about 42 larger (about 3 1/2″) biscuits, 60 smaller (round) biscuits

Ingredients

2 cups King Arthur White Whole Wheat Flour or Premium Whole Wheat Flour
1 cup rolled oats, regular or quick
1 tablespoon dried parsley or 2 tablespoons chopped fresh parsley
1/2 cup Baker’s Special Dry Milk or nonfat dry milk
1/2 teaspoon salt
2 large eggs
1 cup peanut butter, crunchy or plain
1/2 cup + 1 tablespoon cold water, enough to make a cohesive dough

Directions

1) Preheat the oven to 300°F. Lightly grease a couple of baking sheets, or line them with parchment.

2) Mix together the flour, oats, parsley, dried milk, and salt.

3) Add the eggs and peanut butter, stirring to combine; the mixture will be crumbly.

4) Add enough water to bring the dough together; depending on the season, you may need to add a bit more (winter), or a bit less (summer).

5) To make biscuits using a dog-bone cutter, roll the dough about 1/4″ thick, and cut with a 3 1/2″ cutter (or the size of your choice). Gather and re-roll the scraps, and continue to cut biscuits until you’ve used all the dough.

6) To make dog “cookies,” drop the dough in walnut-sized balls onto the prepared baking sheets. Flatten them to about 1/4″.

7) Bake the biscuits for about 40 to 60 minutes, baking the smaller cookies for a shorter amount of time. When finished, the biscuits will be dark golden brown, and will be dry and crisp all the way through.

8) Remove the biscuits from the oven, and cool right on the pans.

IMG_1501

Madie relaxing after her delectable treat!

Paleo Spanish cauliflower rice recipe (The Zenbelly Cookbook)

IMG_3303

Yesterday,  I made a delicious Spanish cauliflower rice burrito bowl for our dinner.  I used the Spanish cauliflower rice recipe from The Zenbelly Cookbook : An Epicurean’s Guide to Paleo Cuisine by Simone Miller.  Since it was so wonderful and healthy, I’d like to share Simone’s Spanish cauliflower rice recipe with all of you.  It would make a great side dish for carnitas or other Spanish/Mexican cuisine.  Thank you Simone!

Paleo Spanish cauliflower rice recipe (adapted from The Zenbelly Cookbook)

Prep time : 10 mins Cook time : 20 mins Serves : 4

1 large head cauliflower (about 2 pounds)

1 tablespoon lard, light olive oil, or coconut oil

1 cup finely diced red onion

1/2 cup finely diced red bell pepper

1 teaspoon finely ground sea salt, divided

1 teaspoon ground coriander(I omitted this)

1/2 – 3/4 teaspoon cumin

1/2 teaspoon chili powder

1/2 teaspoon chipotle chili powder

1 teaspoon dried oregano leaves

1 teaspoon minced garlic

1 cup finely diced tomatoes

1/2 cup fresh cilantro leaves, chopped

1/2 a lime

1.  Cut the cauliflower head into quarters through the top, and cut out the core.

2.  Rice the cauliflower by feeding it through the chute of a food processor fitted with the shredder blade.  Alternately, use coarse side of a box grater.

3.  Melt the lard(I used olive oil) in a large skillet over medium heat.

4.  Add the onion, red bell pepper, and a pinch of salt to the land and sweat the vegetables for 8 to 10 minutes, or until very soft and translucent.

5.  Add the cumin, oregano, garlic, chili powders, and remaining salt and stir to combine.  Add the cauliflower and sauté another 5-10 minutes or until cauliflower is cooked.  (Add a tablespoon of water if the spices begin to stick on the bottom of the pan.)

6.  Turn off the heat and stir in diced tomatoes and fresh cilantro.  Squeeze in the half of lime, give a quick stir, garnish with additional cilantro leaves if desired, and serve.

In my version of Paleo Spanish cauliflower rice, in step 5,  I added the spices and cauliflower to the sautéed onion and pepper.  After cooking the cauliflower, sautéed onion and pepper and spices for 5 minutes,  I added the chopped tomatoes(yellow heirloom) and chopped cilantro to the cauliflower rice.. Give it a quick stir and cook for an additional  5 minutes.  To finish the dish,  I added the squeeze of lime in step 6.  Enjoy!

IMG_3300